What does a lightning rod grounding system consist of?
The grounding system for a lightning rod is an essential component of any complete lightning protection system. Its role is to safely channel the lightning current into the ground, preventing it from causing any damage to the structure.
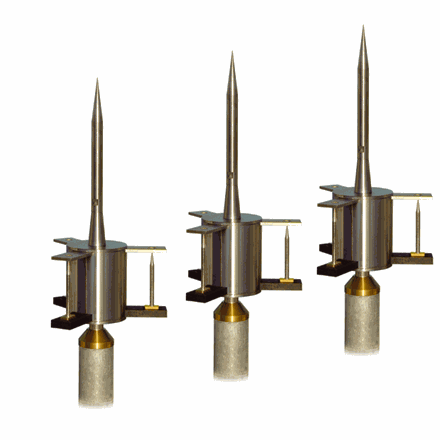
This system consists of specialized components designed to suit various terrains, from urban areas to highlands or industrial zones. When installed correctly, it helps minimize the impact of lightning, keeping the entire structure safe from natural high-voltage currents.
The lightning protection grounding system includes the following components:
- Lightning Rod
This is the first part to come into contact with lightning when it strikes. Depending on the size of the structure, you should choose an appropriate rod. Smaller buildings can use a single rod, while factories or wide areas should use a rod with a broader protection radius to ensure safety.
- Lightning Rod Support Pole
The pole determines the position and height of the rod. It is usually placed at the highest point of the roof to maximize lightning attraction. The material of the pole must be strong and weather-resistant to withstand storms and harsh conditions.
- Down Conductor (Lightning Cable)
After the lightning is captured, it is conducted through this cable into the grounding system. The cable must be large enough and conductive, and it must be installed properly for safety. Some structures use bare copper, while others use insulated cables depending on actual requirements.
- Ground Resistance Test Box and Grounding System
This box is used to measure ground resistance to ensure that lightning can be fully discharged into the earth without residual electricity. If the resistance is too high, improvements are necessary to reduce risk.
- The lightning rod grounding system safely conducts lightning into the ground
This is the final destination for the lightning current. It consists of ground rods buried in the earth, connected to the down conductor. Its role is to neutralize the lightning energy into the soil, preventing damage to the structure and nearby electrical devices.
There are two common types of lightning rods:
- Conventional Lightning Rod
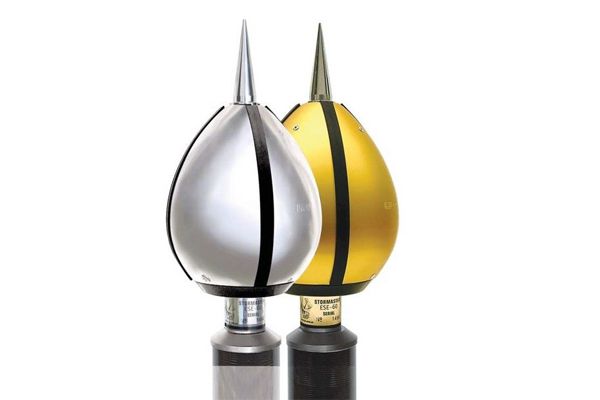
- Advanced Lightning Rod (Early Streamer Emission)
Installing a lightning rod grounding system
Step 1: Dig a trench, pit, or drill a ground well
First, identify a suitable location for grounding, preferably in moist, well-drained soil. Depending on the terrain, dig a trench, a deep pit, or drill a well. This is a crucial step as it directly affects the effectiveness of the grounding system.
Step 2: Bury the electrodes
Once the ground is prepared, install the ground rods or electrodes into the pit. Connect the rods using copper or copper-coated steel wires, ensuring tight, technically sound connections to reduce ground resistance. Check depth and moisture to ensure effective discharge.
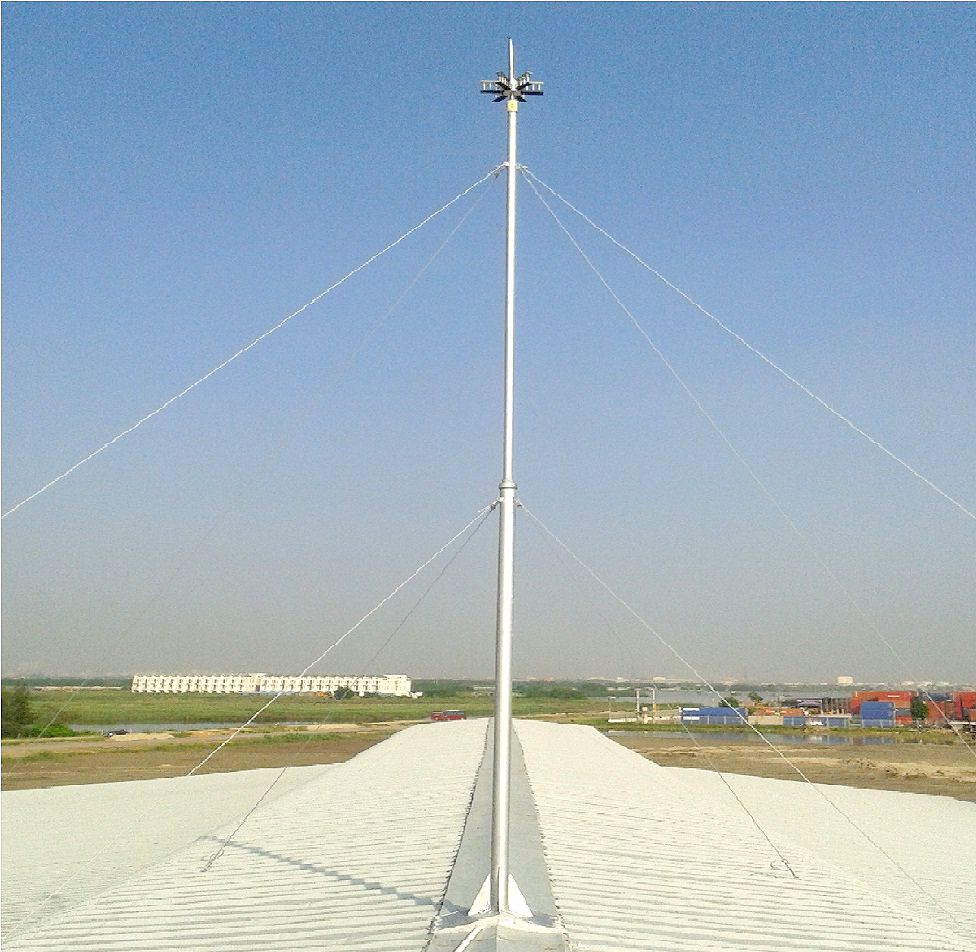
Step 3: Install the lightning rod pole and base
Erect the pole at the highest point of the structure, usually the roof or building top. Secure the base firmly to prevent shaking in high winds. The pole height must be suitable to provide optimal protection coverage.
Step 4: Install the down conductor (lightning cable)
Run the cable from the lightning rod to the grounding system. It should be installed along the wall or within a protective conduit to avoid kinks or breaks. Use dedicated conductors with appropriate cross-sectional area to handle high lightning currents.
Step 5: Restore the ground surface
Finally, once installation is complete, refill the trench or pit. Compact the soil moderately to retain ground moisture. You may add a layer of humus or water periodically to maintain acceptable resistance levels. This final step is critical for long-term system stability.
Notes when installing lightning rods
Here are a few key points to keep in mind when installing a lightning rod:
- Installing a lightning rod is not simply placing it on the roof and connecting a wire. It requires understanding of the protection zone to choose the right rod type, position, and height. Even minor misplacements can render the system ineffective or even dangerous during a lightning strike. Use international standards such as IEC 21186 – 96 or French NFC 17 – 102, along with Vietnamese regulations for accurate calculations. Protection levels from 1 to 4 must be clearly identified based on geography, building height, and risk to select the correct level. Placing the rod too low or too close to surrounding objects can affect protection efficiency.
- Another important factor is the safe distance between the rod and nearby objects. This prevents side flashes, especially in areas with many metal items like water pipes, antennas, or storage tanks. Improper installation can turn these into secondary lightning paths, conducting electricity directly into the structure. Thus, choosing the right rod is not enough – the pole must also be tall enough to cover the entire roof and rooftop equipment.
- Additionally, the roof structure itself influences protection effectiveness. For metal or steel frame roofs, evaluate whether direct connection to the lightning protection system is safe. In some cases, insulation is a safer solution. Metal rooftop items like tanks or pipes should be carefully inspected and properly arranged to avoid becoming accidental “lightning traps.”
- Regarding down conductors, choose cables with large cross-sectional areas, minimal joints, and as straight and short as possible. Stranded round copper cables with at least 50mm² cross-section are commonly used for good conductivity and heat resistance during strikes. Avoid sharp bends in the cable, as each turn can increase resistance and reduce discharge efficiency.
- Lastly, the grounding system is just as vital as the lightning rod. It must have low total impedance and long-term stability, especially in Vietnam's humid tropical climate. Grounding systems in proximity should be bonded with equipotential bonding devices (surge arresters) to prevent voltage differences and electrical spread from one area to another.
In areas with high rainfall and frequent thunderstorms like ours, installing lightning rods is essential for protecting homes or factories. The most important thing is proper, complete, and synchronized installation from the beginning to minimize future risks. You can contact EMIN for more information on our products and installation services!