Zero error of the micrometer and how to fix it
The cause of 0 error in mechanical measuring tools is often due to external factors such as falling, impact leading to warping, rust, or wear of the device after long-term use. In addition, zero error can also come from the user's incorrect calibration or not knowing how to calibrate correctly, inaccurate measurement operations, or due to parallax problems - a phenomenon that occurs when the viewing angle is not correct. causing misreading errors.
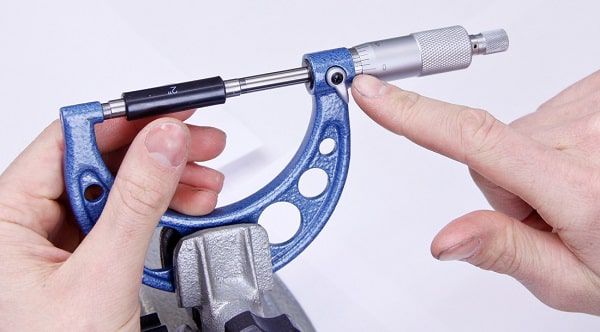
Error 0 can be due to many different reasons, not only due to external influences. Usually this error occurs in two cases:
1. If the zero line of the Vernier scale is below the main scale, this error is called positive zero error.
2. If the zero line of the Vernier scale is on the main scale, this error is called negative zero error.
Zero error directly affects the measurement result, so if the error is not too large, you can simply adjust the measurement result by adding (with negative zero error) or subtracting (with positive zero error). ) with ruler precision. However, when high precision is required, professional micrometer calibration is necessary.
How to fix the error of dividing lines on the micrometer that do not match
Thimble (secondary ruler), plays an important role in determining correct measurement results. When the micrometer encounters an error where the division lines do not match, you can adjust them so that the 0 lines on the main scale and sub-meter match.
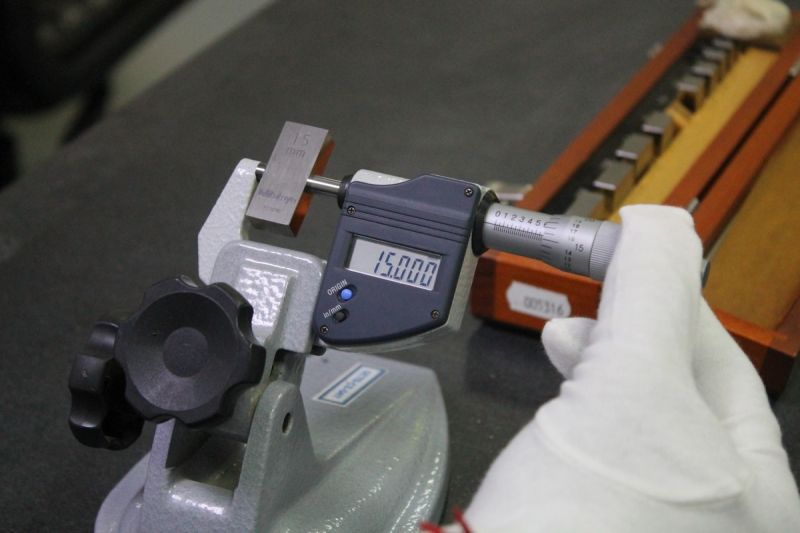
First, turn the knob so that the two measuring heads of the micrometer touch each other. Use the locking screw to fix the micrometer to avoid movement during adjustment. Next, use a small wrench to tighten the main ruler. After doing this, check to see if the 0 lines on the main ruler and the secondary ruler coincide.
If the divisions still do not match, it may be due to a zero error. At this time, it is necessary to continue to recalibrate to ensure accurate measurement results according to the requirements of the job.
Related articles: Principles for choosing a micrometer for beginners
How to preserve and clean the micrometer to prolong its life

Proper cleaning and storage not only helps minimize errors when using a micrometer but also prolongs the life of the device, helping it to operate stably throughout the measurement process.
Clean the micrometer properly
To avoid errors such as zero or error, you need to clean the micrometer before and after use. Basic cleaning can only remove surface dust and dirt without completely eliminating factors that can cause errors.
Before use, check the anvil and spindle of the micrometer to ensure they are aligned and not dented. Gently clamp a clean sheet of paper between the surfaces, then pull the paper out to clean. Next, gently close the micrometer and check the thimble to see if the 0 lines on the main scale and sub-scale match.
After use, wipe the micrometer with a clean cloth moistened with a little oil to protect the surfaces from dirt and oxidation.
Store the micrometer properly
Periodically check and calibrate the micrometer to ensure no errors occur during the measurement process. Before and after use, wipe with a soft cloth to remove dirt from the micrometer surfaces. Apply a thin layer of oil after each use to prevent rust and help parts move smoothly.
After use, store the micrometer in a dry place, away from moisture. Do not stack instruments on top of each other to avoid damaging or affecting the function of the micrometer.