Concept of stereo microscope
Before getting into the main content of the article, we first need to understand about stereo microscopes.
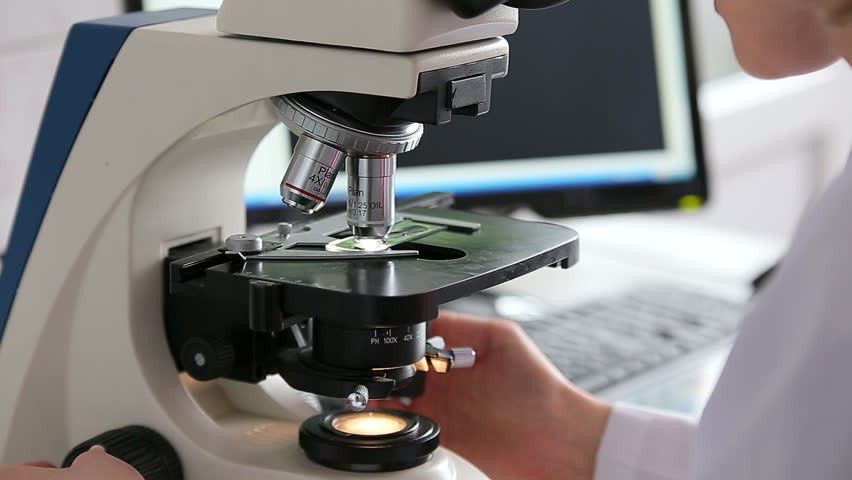
Stereo microscopes belong to the optical microscope line, often used to observe samples with magnifications from 7X to 50X, and can be up to 100X when needed.
With this magnification range, stereo microscopes are widely used in many different fields, from education, biological research, to product inspection, error analysis, circuit assembly, and even is quality inspection.
So how to use a microscope properly and achieve optimal observation results? In the next section, EMIN will share the necessary steps when using a stereo microscope, helping you operate more easily and accurately with this device.
Steps to use a stereo microscope
Below are EMIN's instructions on how to use a stereo microscope:
Step 1: Place the microscope on a stable and easy-to-operate surface.
Step 2: Connect the glasses to the power source and turn on the light to start using.
Step 3: Turn the magnification adjustment knob to the lowest level, then bring the specimen into focus. Adjust the distance between the eyes to observe comfortably and without fatigue.
Step 4: Choose an objective lens suitable for the specimen and observation purpose.
Step 5: Adjust the lighting and condenser to optimize the light angle for the observed image. Adjust the diaphragm size depending on the objective selected.
Step 6: Look through the eyepiece, lower the objective lens close to the specimen, and adjust the level screw until the microscopic image appears.
Step 7: Use micro screws to fine-tune the observed image more clearly.
Step 8: After observing, take out the specimen, turn off the light, clean and store the microscope properly.
Secrets to using stereo microscopes with objectives of all sizes
The secret to effectively observing samples with a stereo microscope is to choose just enough magnification to clearly see the details to be observed, ensure good depth of focus and wide optical field. You should only increase magnification when the light is bright. Brightness or resolution does not meet requirements.
In step 4 in the process of using a microscope, choosing the right objective lens for your observation needs is very important. To help you easily choose and operate, below is how to use a stereo microscope with different sized objective lenses that you can refer to.
Related articles: ZEISS microscope - The pinnacle of optical technology
Working with 10X objective lens
When combining the 10x objective lens with the 10x eyepiece, the sample can be magnified 100 times. This objective lens is often used to observe parasites, preliminary assessment of blood and marrow specimens,...
Steps to use a microscope with a 10X objective: First, place the specimen on the stage, rotate to select the 10x objective, and adjust the appropriate lighting to achieve clear viewing images at 10x magnification.
Working with 40X objective lens
To take a microfield with a 40x objective lens, it can be done directly with the 40x objective lens or through the 10x objective lens. How to do it as follows: First, take the microfield with a 10x objective lens as previously instructed. Once the field has been taken, increase the illumination and rotate to the 40x objective. Finally, use a micro-level screw to adjust the image to the clearest.
Working with 100X objective lens
To take a microfield with a 100x objective, you can do it indirectly through the 10x objective or directly with the 100x objective. First, adjust the light to the maximum level, then rotate to select the 100x objective lens. When observing, you need to use a large screw to raise the glass table until it almost touches the top of the glass base, then gently lift it a little more so that the objective lens is slightly pushed back inside.
Note, do not over-twist to avoid breaking the specimen during operation.
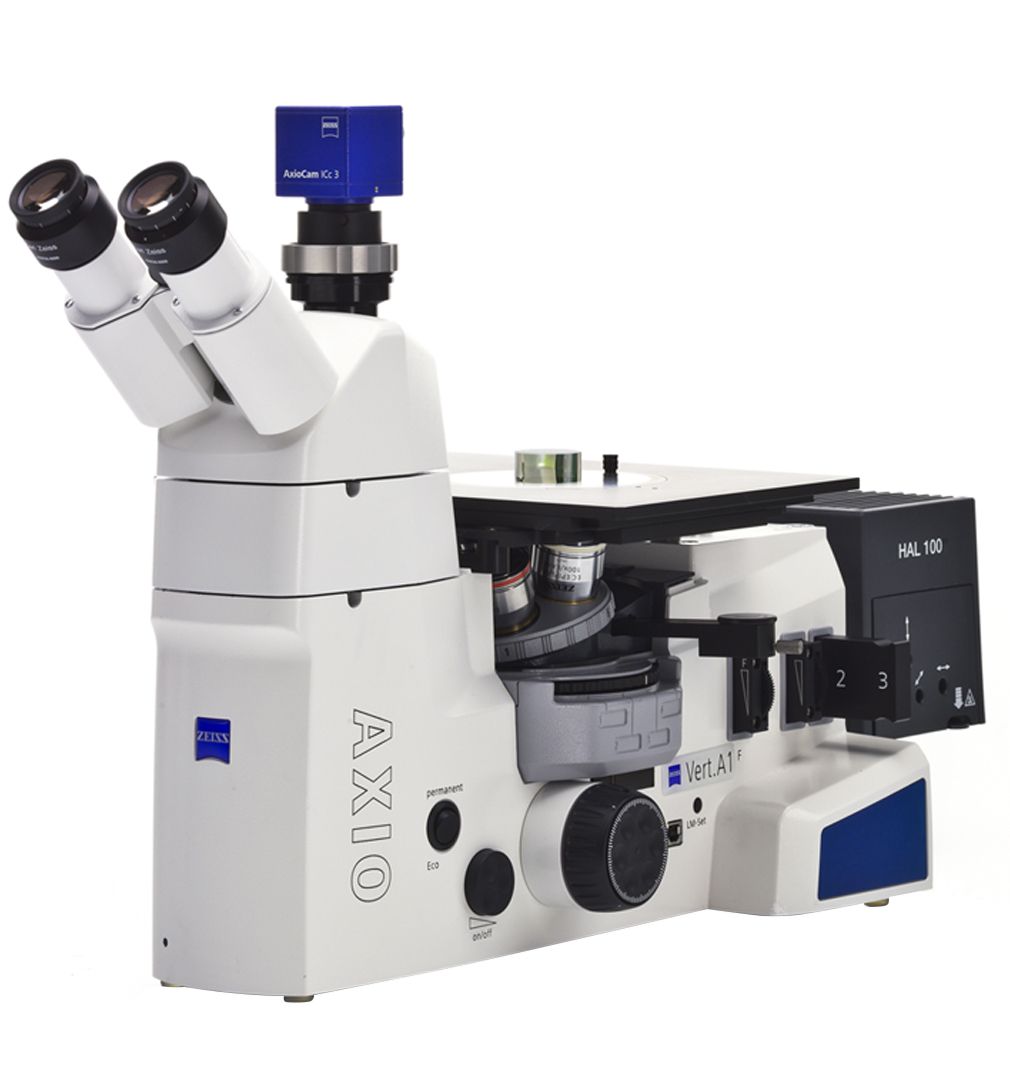
Zeiss microscope brand - Stemi 508
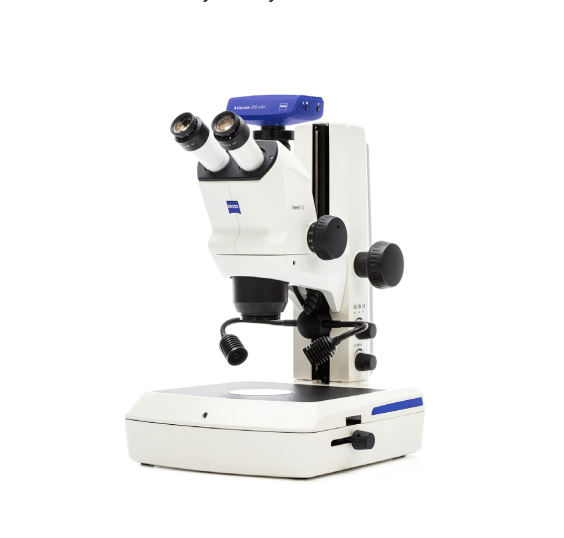
And the model today EMIN wants to introduce is the Stemi 508 Stereo Microscope - a famous brand in Germany for microscopes.
Advantages of Stemi 508:
- Integrated camera connection port, helps observe and record easily.
- Magnification from 6.3x to 50x, can be upgraded up to 250x.
- Working distance is 92 mm, ensuring comfortable space when working.
- The distance between the two pupils can be flexibly adjusted from 55 mm to 75 mm, suitable for many users.
- 35° viewing angle, helping to bring a more natural and comfortable viewing experience.
Conclude:
Above are detailed instructions on how to use a stereo microscope. You should follow the correct steps to achieve the highest efficiency during use. If you have any questions regarding the use of stereo microscopes or other types of microscopes, please contact EMIN to receive advice and support from us.
See more at ZEISS MICROSCOPE