The GT-A37 Constant Temperature Oven is intended for precision drying and constant-temperature testing in textile applications. The supplied product information describes its use for determining moisture regain in materials including cotton, silk, fur, and synthetic fibers. A consistent workflow—from selecting workstations and recording initial weights to monitoring samples until their weight is stable—helps make the test process organized and traceable.
What the GT-A37 Constant Temperature Oven Supports
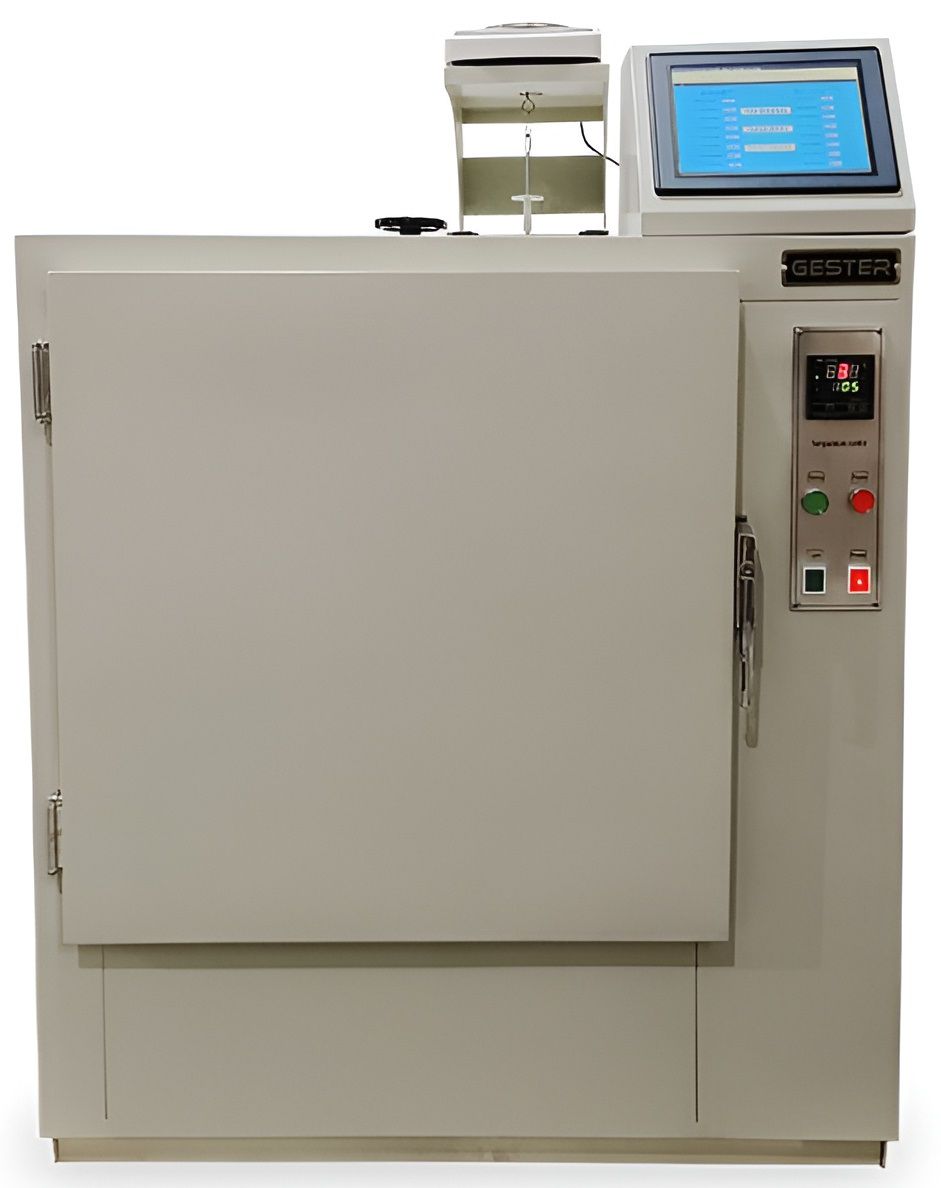
Textile moisture evaluation depends on accurately comparing sample weights during the drying process. The GT-A37 Constant Temperature Oven combines a heated chamber, ventilation control, a turntable arrangement, a control screen, and an electronic balance workflow to support this task. Product information also lists minimal thermal inertia heating, forced-convection hot-air drying, airflow control during weighing, an LED temperature display, a 7-inch touchscreen, and a Windows CE operating system.
The listed standards for this equipment are GB/T9995-1997, ISO2060/6741, and ASTM D2654. Test teams should always confirm the applicable procedure and laboratory requirements before beginning a specific test.
Prepare the Equipment and Select Workstations
Start by switching on the main power, the control screen, and the electronic balance. Confirm that the components needed for the planned test are available before entering sample data.
Set the required test temperature from the control panel. In the supplied operating example for moisture regain testing, the temperature is set to 105°C using the on-screen up and down controls. The green display indicates the set temperature, while the red display indicates the real-time temperature.
Next, select only the workstations that will be used. For example, when testing at workstations 1 and 2, select those stations and leave the unused positions unselected. Save the workstation selection before proceeding. This keeps the screen configuration aligned with the actual sample locations on the turntable.
Record Bucket and Sample Weights
Enter the bucket weight
Each sample should be associated with its corresponding bucket. Select the relevant bucket on the screen, place it on the electronic balance, zero the balance, and obtain the bucket weight. Enter the value through the numeric keyboard on the control screen. After recording the value, place the bucket in its assigned turntable workstation.
Enter the initial sample weight
Weigh each individual sample on an electronic balance and enter its initial value under the correct sample number in the system. Then place the sample into the corresponding bucket. Accurate identification at this stage is important because later weight readings need to match the correct sample and bucket.
After the bucket and sample data have been entered, use the “Save Parameters” function. Saving before the drying cycle begins preserves the information used for subsequent monitoring and calculation.
Run the Test and Monitor Weight Changes
Open the ventilation outlet before starting the test. Press “Start” and record the starting time. The supplied operating example uses a 25-minute test period, followed by “Pause,” then a one-minute wait before closing the ventilation outlet. Actual timing should follow the chosen test procedure.
To check weight change, reconnect the balance and use the turntable controls to position an individual bucket beneath it. Measure and read the current weight for each sample as required. Repeat this monitoring process at suitable intervals until the sample weight becomes stable.
Airflow control during weighing is listed as a feature of the GT-A37 Fabric Moisture Tester. In this workflow, controlling airflow helps reduce air disturbance while measurements are being taken.
Calculate and Review Moisture Regain Results
When the samples have reached constant weight, select “Count” on the control screen to calculate the moisture regain result. The “Statistical Reports” area can then be reviewed for a summary of the recorded data and calculated results. Results may also be printed for laboratory records.
For repeatable textile moisture testing, keep workstation selection, bucket identification, initial weights, monitoring readings, and final results aligned throughout the process. This structured approach makes it easier to review the test sequence and compare results across samples.
Key Operating Advantages for Textile Testing
Fabric Moisture Testing Oven is designed around a practical sequence of heating, ventilation, weighing, and data review. Forced-convection hot-air drying is listed to support the drying process, while the touchscreen interface centralizes temperature settings, workstation choices, weight entry, and result calculation. Together, these functions support a more streamlined workflow for textile laboratories conducting moisture regain evaluations.