Painting is the final step that defines the appearance of a building, but it is also one of the stages most vulnerable to application errors. In many cases, peeling paint, blistering, or uneven color is not caused by poor-quality paint, but by applying the coating before the wall has fully dried. For this reason, wall moisture meter have become an essential tool for verifying substrate moisture before painting begins.
Recommended Wall Moisture Level Before Painting
The evaporation of water from freshly plastered walls is only part of the drying process. Inside the wall, the cement hydration reaction continues for at least 21 to 28 days under favorable weather conditions before reaching a stable state.
Applying paint before the wall has fully cured traps residual moisture and free alkali within the substrate. As moisture gradually migrates toward the surface, it carries alkaline compounds that can weaken the paint film, leading to blistering, peeling, discoloration, and mold growth over time.
According to common construction practices, the wall moisture content should generally be below 16% before applying putty or primer. Some premium solvent-based coating systems require an even lower moisture level—typically below 12%—to achieve optimal adhesion and long-term performance.
Exceeding these limits increases the risk of paint failure as water vapor pressure builds beneath the coating, especially when ambient temperatures rise.
Why Use a Wall Moisture Meter Instead of Visual Inspection ?
Experienced painters often rely on the wall's appearance or simply wait 21–28 days before painting. While this approach may work under ideal conditions, it is not always reliable.
In humid climates, such as those found in many parts of Southeast Asia, the wall surface may appear completely dry while significant moisture remains trapped inside the masonry or plaster. In these situations, checking the substrate with a wall moisture meter before painting provides a much more dependable assessment.
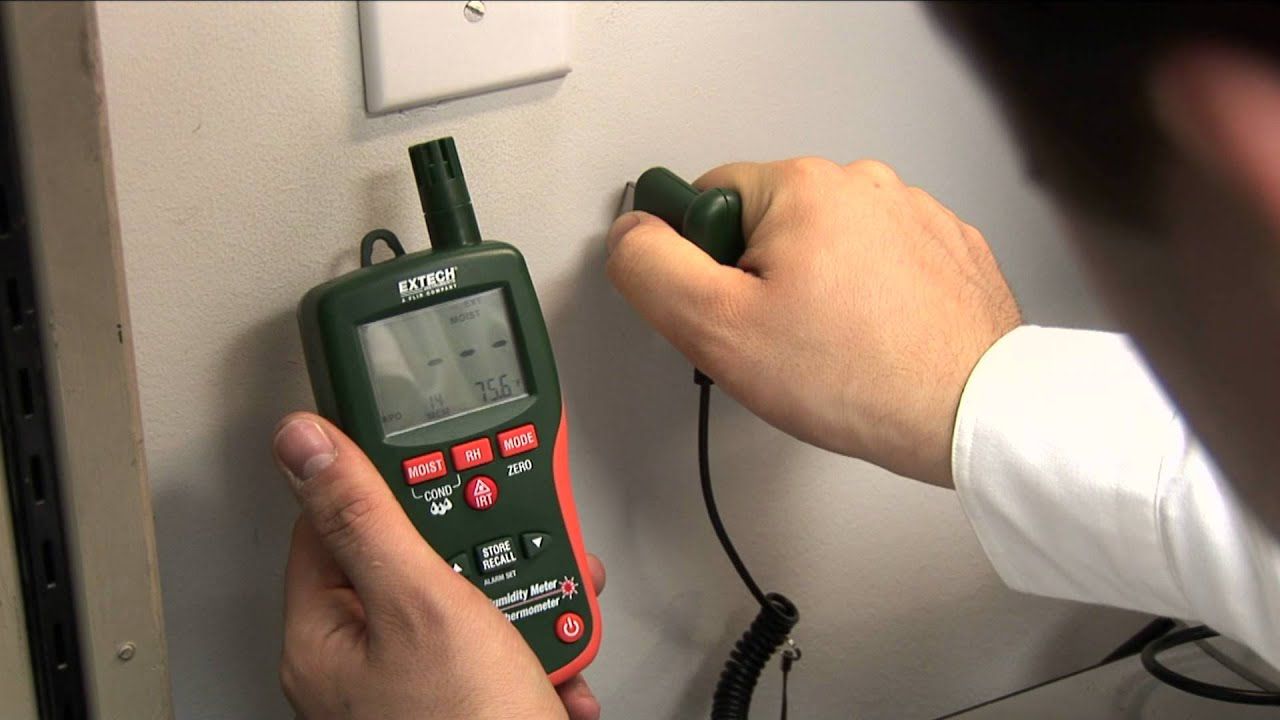
Wall moisture meters determine moisture content using either electrical resistance or capacitance (non-invasive) sensing, delivering numerical readings within seconds.
- Non-invasive (Capacitance) Measurement
The meter is placed directly against the wall surface without damaging the substrate. Electromagnetic signals penetrate approximately 2–5 cm (0.8–2 inches) into the wall, allowing moisture beneath the surface to be measured without leaving pinholes or scratches.
- Pin-Type (Resistance) Measurement
Two probe pins are inserted into areas where moisture accumulation is most likely, such as corners or near the floor. This method provides highly accurate localized measurements and is particularly useful for detecting moisture retained in specific sections of the wall.
How to Measure Wall Moisture Accurately
A wall's drying rate depends on several factors, including weather conditions, ventilation, sun exposure, and plaster thickness. Even within the same building, different walls—or different areas of the same wall—may dry at different rates.
The outer surface often dries first while moisture remains trapped deeper inside the substrate. If paint is applied too early, the trapped moisture continues moving outward but becomes blocked by the paint film, eventually causing blistering or peeling.
For reliable results, technicians should measure moisture at multiple locations, paying particular attention to the following areas:
Lower Wall Sections: The first 30 cm (12 inches) above the floor is more susceptible to rising damp and should always be inspected carefully with a moisture meter.
Interior Corners and Enclosed Areas: alls behind built-in cabinets, gypsum partitions, or poorly ventilated corners tend to dry much more slowly than exposed surfaces because of reduced airflow.
Areas Near Utility Shafts and Water Pipes: temperature differences around concealed plumbing can create condensation inside the wall, resulting in higher moisture levels than surrounding areas.
Painting should only begin after all measured locations consistently show moisture readings below the recommended threshold.
What If the Wall Hasn't Dried but the Project Is Behind Schedule?
Construction schedules do not always align with ideal drying conditions. During prolonged periods of rain or high humidity, walls may retain excessive moisture even after the expected curing period.
Using industrial fans or forced-air drying may speed up surface drying, but it does little to remove moisture trapped within the plaster or masonry.
When painting cannot be postponed, selecting the right coating system becomes critical.
One practical solution is to use specialized alkali-resistant breathable primers. These coatings allow water vapor to escape gradually while maintaining the integrity of the finish coat.
Another option is to use mineral silicate paints or cement-based coating systems, which chemically bond with mineral substrates and are less susceptible to damage from residual moisture, alkalinity, or saponification.
Explore our range of imported wall moisture meters from leading global manufacturers in our Wood and Building Material Moisture Meter.