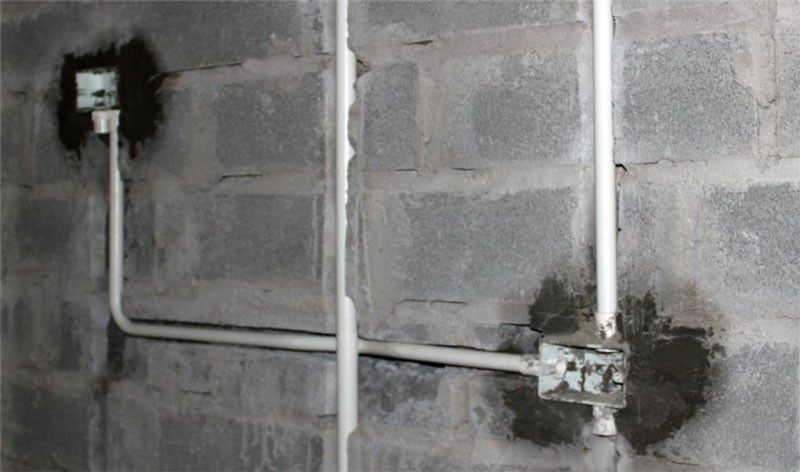
The reason is because it brings aesthetics, helps save space but also protects the wiring from external factors. However, the big disadvantage of this method is that repairing or troubleshooting is quite complicated. If you do not understand the techniques, using drills indiscriminately, especially cordless drills that do not ensure quality, can lead to dangerous risks to the electrical system as well as family safety.

Basic wall electrical detection process
For professional workers, there are many different methods of detecting electricity in walls. However, for non-professionals, using a smart wall-mounted electrical tester is the most optimal solution for quick testing. With this method, you do not need to come into direct contact with the electric current, just place the pen tip near the wall and you can detect the electric current a few centimeters away from the pen tip. If there is electricity, the device will emit a flashing light signal, ensuring a high level of safety.
On the market today, there are many types of wall-mounted electrical testers with compact and convenient designs. The general structure of the device includes a spring, a metal head and a resistor in series with the neon bulb. The pen is equipped with an extremely sensitive magnetic field sensor, helping to detect power sources from 90V to 1000V. When a power source is detected, the pen will emit a light signal at the tip of the pen with a signal sound.
If you are planning to repair or install a home appliance and need to use a drill to drill into walls, having an electrical tester will be very useful. Before drilling, place the tip of an electric tester on the wall area to be drilled to check whether there is electric current or not. If there is electricity, the current will pass through the resistor, causing the LED bulb to light up, helping you determine the exact location of the electricity and ensuring safety when working.
Simple wall drilling steps
To perform wall drilling effectively, the first step is to choose a quality drilling machine. Choosing the right type of drill will directly affect work performance, so you need to consider carefully. After preparing the drilling machine and ensuring labor safety, you can perform the following basic steps to drill walls:
Step 1: Mark the drilling location
First, it is necessary to identify and mark the exact location on the wall where you will drill. This helps ensure the hole is created as desired.
Step 2: Drill an initial short hole
Place the drill in the marked position and start drilling a short test hole. Adjust the drill to low speed if it has a speed control function. Drill a shallow hole (about 3-6 mm) as a pilot hole before drilling deeper.
Step 3: Proceed to drill the main hole
Place the drill bit into the pilot hole, keeping the drill perpendicular to the wall surface. Start the drill with moderate pressure, gently push the machine forward and gradually increase speed as necessary. Care must be taken to control the drill to avoid slipping when hitting heterogeneous materials such as gravel in concrete.
Step 4: Unplug the drill periodically
During drilling, pull the drill out of the hole every ten to twenty seconds to remove dust. This helps keep the bore clean and unclogged.
Important note
Occasionally, pause the drill and move away from the drilling position to let the drill bit cool for a few seconds. This is important for conventional rotary drills, as they can easily overheat during prolonged drilling.