In an automotive repair shop, cleaning, restoration, and protection are closely connected to the actual condition of the painted surface. For light scratches, swirl marks, stains, tree sap, paint overspray, or oxidation, technicians may consider polishing to improve the appearance. However, both polishing and sanding affect the coating. Therefore, an automotive paint thickness gauge is an important supporting tool before, during, and after surface treatment.
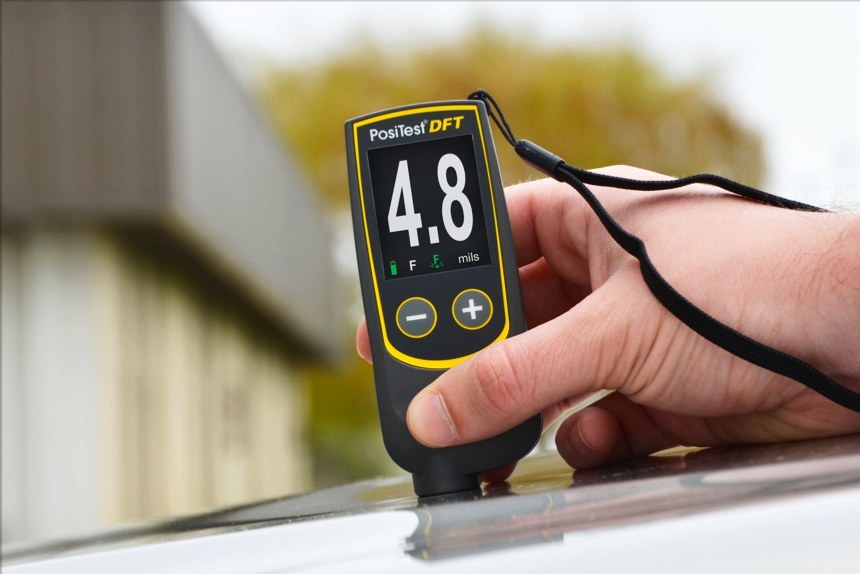
For automotive detailing, paint measurement is especially useful during rejuvenation work. Washing removes loose contaminants, while polishing may address fine scratches, scuffs, swirl marks, oxidation, stains, overspray, tar, tree sap, acid rain marks, and water spots. These corrective processes can remove material from the painted surface, so measuring before and during work helps the operator understand the overall coating condition.
Why measure automotive paint thickness?
Most automotive paint systems include multiple layers, such as primer, base color, and clear coat. Many current vehicles use a clear coat system, while single-stage paint systems are also found. Magnetic and eddy current gauges measure the total distance between the probe and the metal substrate; they do not independently identify each paint layer.
As a result, readings should be interpreted as part of a wider inspection. Consistency across a panel is often more useful than looking for one universal target value. A localized thin area may warrant caution, while a substantially higher reading than adjacent areas can indicate rework, repainting, or material below the paint surface. Deep scratches, etching, heavy oxidation, and other damage may also extend beyond what is suitable for correction by sanding and buffing.
The source material notes that factory paint thickness commonly falls in a range of 4–7 mils (100–180 microns), but thickness varies by manufacturer, vehicle location, paint system, and prior repair history. Therefore, this range should not be treated as a pass-or-fail specification for every vehicle.
Choose the measurement method by substrate
Vehicle exteriors may combine steel, aluminum, plastic, fiberglass, and composite components. Doors and fenders can be steel, hoods or roofs may be aluminum, and bumpers, mirrors, and fascia can be plastic. The substrate determines the appropriate measurement principle.
Magnetic measurement for steel
Steel is magnetic, so coating thickness over steel is measured using a magnetic, or ferrous, principle. Electronic magnetic gauges use a probe with consistent contact pressure and display the result electronically. On compatible instruments, an “F” indication refers to ferrous material and a magnetic measurement principle.
Eddy current measurement for aluminum
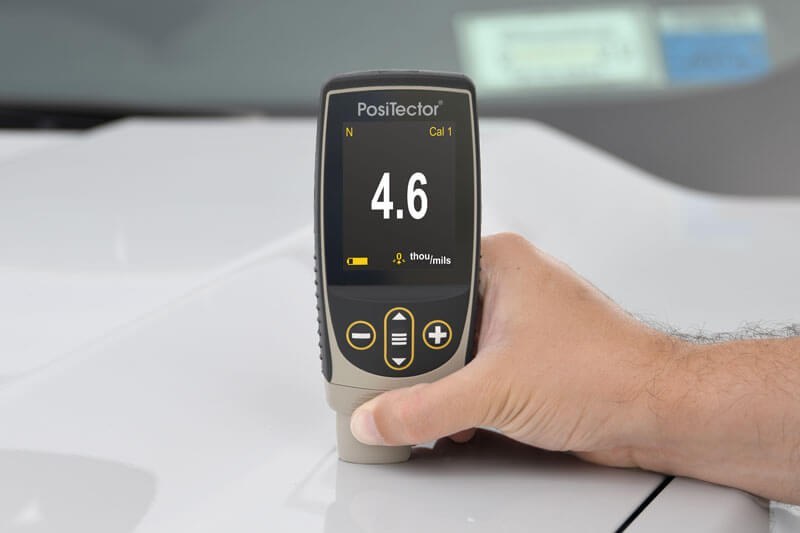
Aluminum and other non-ferrous conductive metals are measured with an eddy current technique. The probe creates an alternating magnetic field, and the instrument analyzes the electromagnetic response from the metal. An “N,” “NF,” or “NFe” display indication refers to a non-ferrous measurement principle. Combination instruments can incorporate magnetic and eddy current methods for work across steel and aluminum panels.
Ultrasonic measurement for plastic and fiberglass
Plastic, fiberglass, and other non-metal substrates require an ultrasonic approach. An ultrasonic probe sends a pulse through the coating and analyzes the reflected signal. This method uses couplant between the probe and surface. Depending on the model and coating system, ultrasonic measurement can provide total coating thickness and may provide individual layer thicknesses in a multilayer system.
DeFelsko gauge options for automotive applications
DeFelsko offers several handheld, non-destructive gauge families suited to different automotive substrates and inspection needs.
PosiTest DFTT
PosiTest DFTT is intended for coating measurement on exterior metal panels. The series measures coatings up to 40 mils (1000 microns). PosiTest DFT-Ferrous is designed for steel panels, while PosiTest DFT-Combo is intended for steel and aluminum panels. The source data states ±3% accuracy and 0.1 mil (2 micron) resolution for this series.
PosiTector 6000
PosiTector 6000 is a versatile option for total coating thickness measurement on metal panels. The product family supports interchangeable probes, on-screen statistics, stored readings, printer output, and computer download options. PosiTector 6000 F1 is identified for steel panels, while PosiTector 6000 FN1 is identified for steel and aluminum panels. The source data lists ±1% accuracy and 0.05 mil (1 micron) resolution for the described series configuration.
PosiTector 200
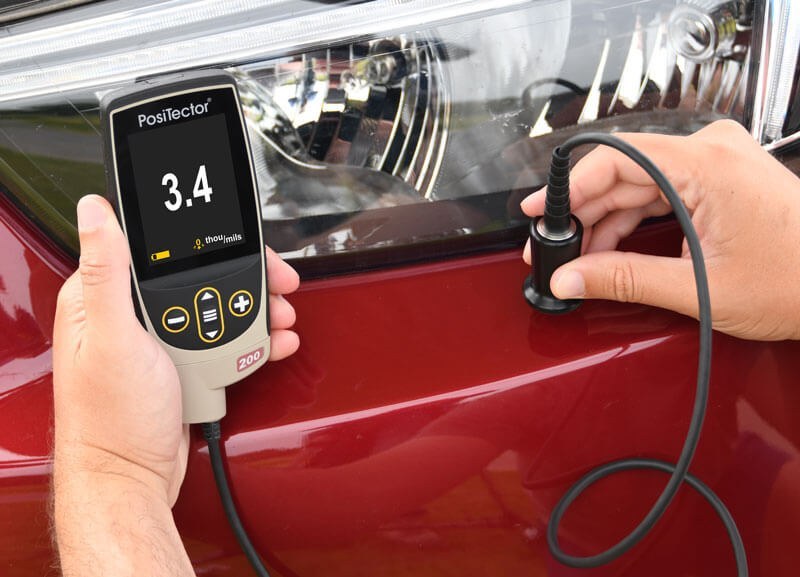
PosiTector 200 is an ultrasonic gauge for non-metal substrates, including automotive fiberglass and plastic. PosiTector 200 B1 measures total coating-system thickness. PosiTector 200 B3 can measure total coating thickness and up to three individual layer thicknesses in a multilayer system.
How to take reliable readings
For magnetic and eddy current gauges, turn on the instrument and place the probe flat against the surface. Hold it steady until the measurement is completed, then lift the probe rather than dragging it sideways across the paint. Take readings at multiple locations to compare areas across the panel.
Before measurement, verify instrument performance on an uncoated part where appropriate. Plastic shims placed on the bare surface can also be used to check readings against known thicknesses. Follow the manufacturer’s operating instructions for any required adjustment or verification procedure.
For ultrasonic gauges, apply couplant to the coated surface and place the probe flat. Periodic zeroing is performed differently from metal-substrate gauges: the ultrasonic probe is zeroed in air using its designated menu function. After measuring, wipe couplant from the probe and the surface with a soft cloth or tissue.
Understanding mils and microns
A mil is one thousandth of an inch, or 0.001 inch. A micron, also written as micrometer or µm, is one thousandth of a millimeter. To convert mils to microns, multiply by 25.4. To convert microns to mils, divide by 25.4. Using one unit consistently across an inspection helps prevent errors when comparing readings.
Use readings to support careful decisions
Effective automotive paint thickness measurement requires the right measurement principle, systematic multiple measurements, and evaluation of the results in the context of the entire body panel. This approach provides a more reliable basis for surface inspection and helps reduce the risk of excessive surface treatment.
Surface cleanliness, probe placement, part geometry, and verification with calibration shims can all affect the measurement process. Check the coating thickness gauge regularly before use, especially when measuring critical areas. Do not rely on a single measurement as the sole basis for deciding whether to sand or perform aggressive polishing..